Getting to a sauna regularly can be a struggle for many of us. Perhaps you have young kids or work long hours or maybe you just don’t live near a sauna. Is it possible to build your own sauna – even if you don’t have space inside the house?
When building an outside sauna, you have three main options: a custom build, a kit, or converting an unused building or shed. Of these, custom saunas have the potential to be either the most or least expensive (depending on your build) and sauna kits require the fewest skills. The best option for you will be based on your needs, skills, and budget.
Keep reading for the best plans for outdoor saunas you can do yourself!
The best outdoor sauna plans
While you’re probably more familiar with indoor saunas if you’ve spent most of your sauna time at the gym or health club, outdoor saunas are a great choice for homeowners who are looking for relaxation without the drive.
There are three ways you can go about installing a sauna in your backyard.
- Custom build
- Sauna kit
- Conversion
Saunas that are fully do-it-yourself require you to have a good understanding of construction, so this may be more challenging for a beginner. However, this is something you can overcome with research and patience as you learn and make mistakes. There are plans that you can find as well as videos that can help you, although many who build these are more experienced.
Kits are easier for beginners since they come with directions, have everything ready to assemble, and only require you to have a basic knowledge of how to handle a hammer and nail gun. A kit is also the way to go if you are limited on time and want to finish your project quickly.
Just like with a fully DIY sauna, a conversion also requires more skill and knowledge of construction to build. Beginners can also do it, but they should research carefully so they have a good understanding of construction and which materials they should use in order to build it out.
Each of these DIY outdoor saunas has pros and cons, as well as varying costs. Which way you choose will depend on your handiness level as well as your budget.
DIY custom sauna houses and builds
The DIY custom sauna builds can be as elaborate or simple as the builder wants. Some will want to make it as simple as four walls and a door, while others look to create elaborate structures.
Building a sauna from the ground up requires advanced skills, knowledge about the proper materials, and what is needed for safety while the sauna is in use, although beginners can attempt a simpler build with the help of research.
The price range on these saunas is really going to depend on how elaborate your sauna is as well as what type of parts you use. For example, a bigger heater will cost you more than a smaller one and the cost of lumber will vary depending on the type of wood and amount required. Simpler projects start around $300 with a range up to $5,000.
Infrared sauna on a budget
Jenelle Lemons
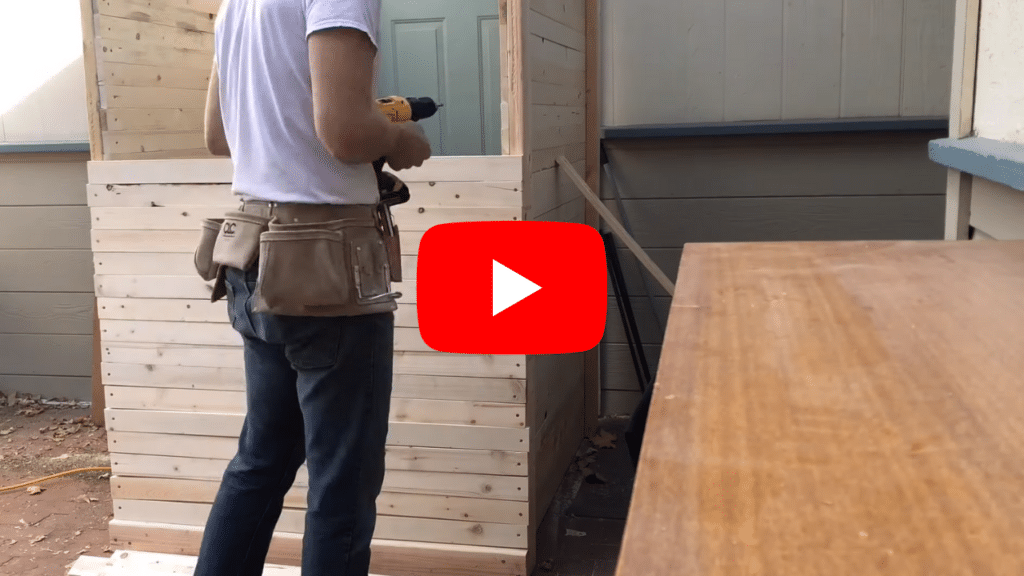
This DIY infrared sauna build is intended to be more of a patio sauna and is on the lower end of the cost range, with the cost of materials being $300 at the time of posting.
It is important to note that this sauna does not have a hard roof nor an actual door, using a liner for both of these, which is part of the reason for the lower cost. The lights used for the infrared heat are also clamped to the back wall of the sauna.
The builder details exactly how the sauna is built, including the sizes he cut the wood to as well as what type of wood and lighting was used.
He also includes an update on how well the sauna works after a few months, including that they added an additional light since they enjoy more of a sweat.
Simple outdoor sauna

Unboxingexperience7
This sauna is located in a garden and is made of timber beams and steel rods. The builder shows the materials he used, including the nails, the wood glue, and demonstrates how he built this step by step, although he does not give exact measurements nor does he talk throughout the video.
He creates a peaceful atmosphere within the sauna through ambient lighting as well as a beautiful glass door, although it is only big enough for one person and he recommends going bigger if you want to share the space with someone else.
This project took two weeks to complete, along with drying time, and does require a more advanced skillset. One of the commenters also mentioned that you should look at the wood glue you use to make sure heating it doesn’t release toxic fumes, so be careful when gathering materials.
This particular build is also very aesthetically pleasing, but the builder did have to close the gaps in the flooring due to the sauna not being able to heat properly. He also did create a video with an update to this build, with new lighting and a new look on the outside, which is also linked below.
Watch the video on YouTube.
Watch the update video on YouTube.
3-person outdoor sauna
Sander Marguste
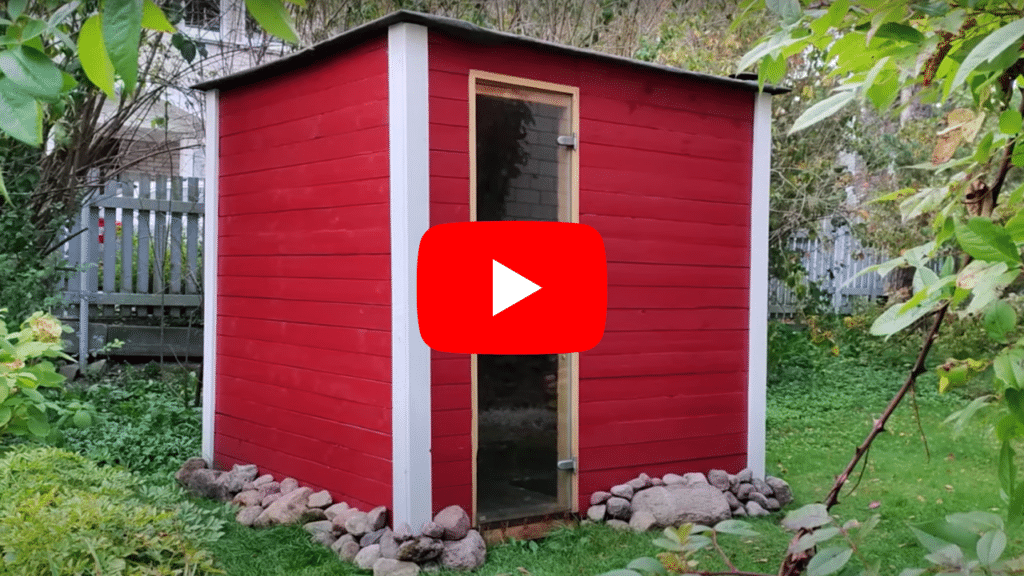
This DIY sauna requires a more advanced skill set, but the builder says it was a fairly easy build. It uses Polyurethane for insulation and if you build it according to his measurements which is 2 meters x 2 meters, it can fit about 3 people.
It has open slots in the floor to allow water to safely empty out into the soil, and he states that it does not affect the sauna temperature at all. He uses a Harvia heater wood-burning heater, and it heats up the space rather quickly, usually within half an hour. It also has a wood floor, and due to the insulation, it holds the heat very well.
This build is very aesthetically pleasing. It was around $1,500 dollars to build it at the time of posting, and he used spruce to keep the costs down as cedar (a more traditional sauna wood) is much more expensive.
Wood-fired Estonian sauna
Beau Beckett
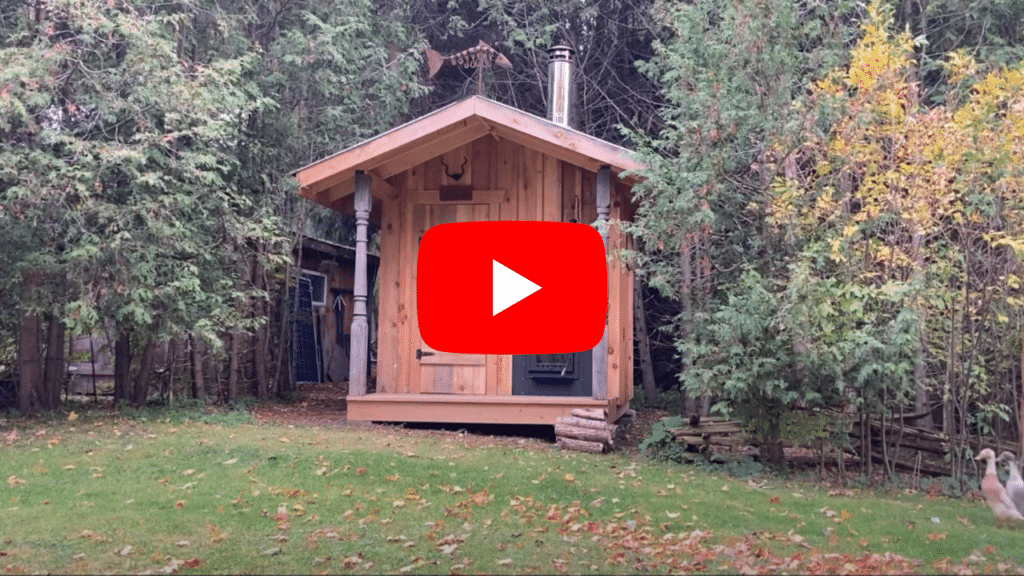
This builder worked over the course of several months to create this idyllic wood-fired Estonian sauna in his yard.
This build requires advanced skills and help from at least one assistant due to its larger size and gabled roof, with it measuring 7.5 x 7.5 feet. There is also a porch, creating an aesthetically pleasing structure.
For this particular sauna, he converted a wood-burning stove in order to save money. The floor isn’t insulated and does not have a tongue and groove design which allows water to drip out of it into the soil. Since it is in a garden the main concern with the insulation in the flooring is that the critters can get into it and use it for nesting.
DIY Mini Sauna
kaufartperry
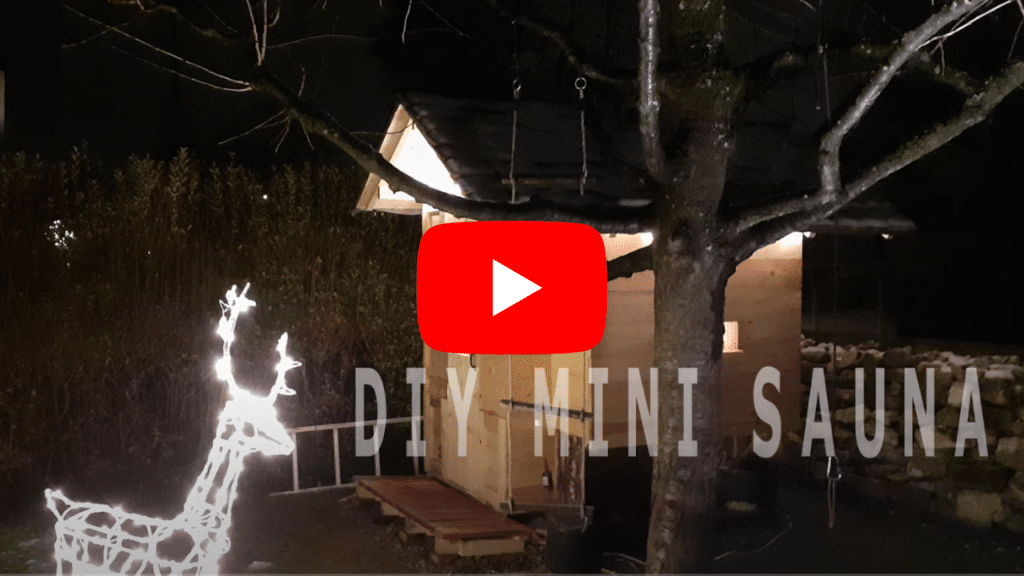
The DIY mini sauna requires that you have experience with both building and roofing. The roof has wooden shingles, and while it is a simple sauna, it is very effective in drawing out sweat.
The builder constructed a brick stove using two different types of bricks for the heater and chimney. It is small but there is enough room for two people. Aluminum foil is used to help with the insulation. There is also a bucket of rocks on top of the stove to help produce the steam.
DIY barrel sauna

Michael Sounart
The barrel sauna is a popular sauna shape because of its efficiency. This sauna is more complicated to build and requires advanced skills since it uses a tongue and groove to connect instead of simply nailing each board to a post. This particular build is large and will take time to build.
This sauna can comfortably fit two people and it even has a removable bench for when you want to lay down while in the sauna.
Unlike the previous sauna builds mentioned above, this one actually has plans that you can buy linked in the description of the video as well as a website with more information, tips, and details to help anyone who is using the plans to create their own sauna.
Repurposed wood sauna
Undomesticated
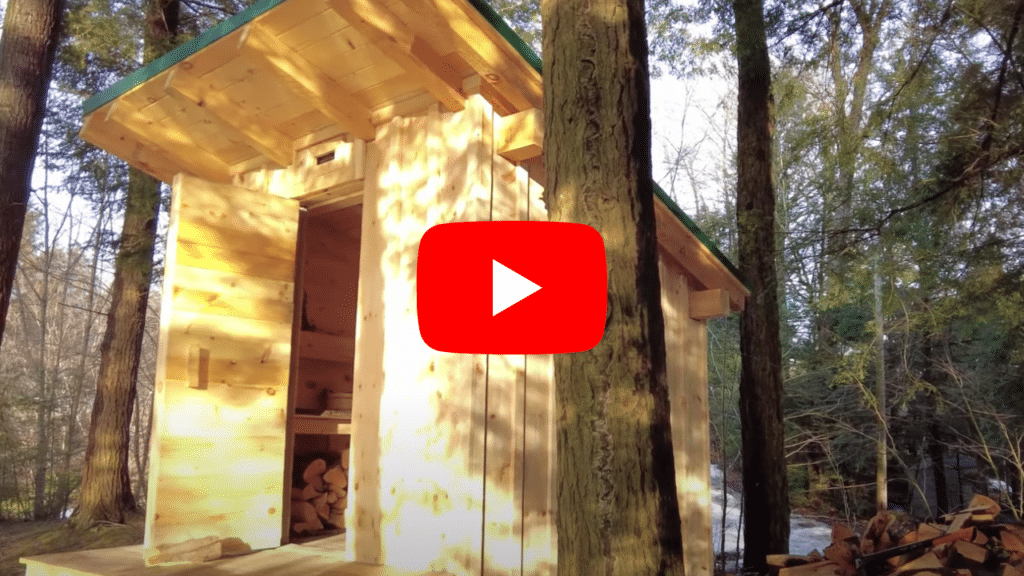
This wood-burning, timber wood sauna uses old telephone poles as its base, due to the fact that the poles are solid, thick, and treated to last. While the sauna is already built at the time of filming, the builder still talks about each step of building the sauna, using pictures to help show the steps.
The sauna uses a wood-burning stove as a heater and includes two vents to help ensure adequate airflow for those who are using the sauna. He also uses the section under the bench as a way to store wood for the stove, leaving them accessible for when you are in the sauna and need more wood.
There is also another video he does later from about 6 months later that discusses how he would change things after using the sauna.
Watch the video on YouTube.
Watch the update video on YouTube.
Portable sauna
Frans Yzermans
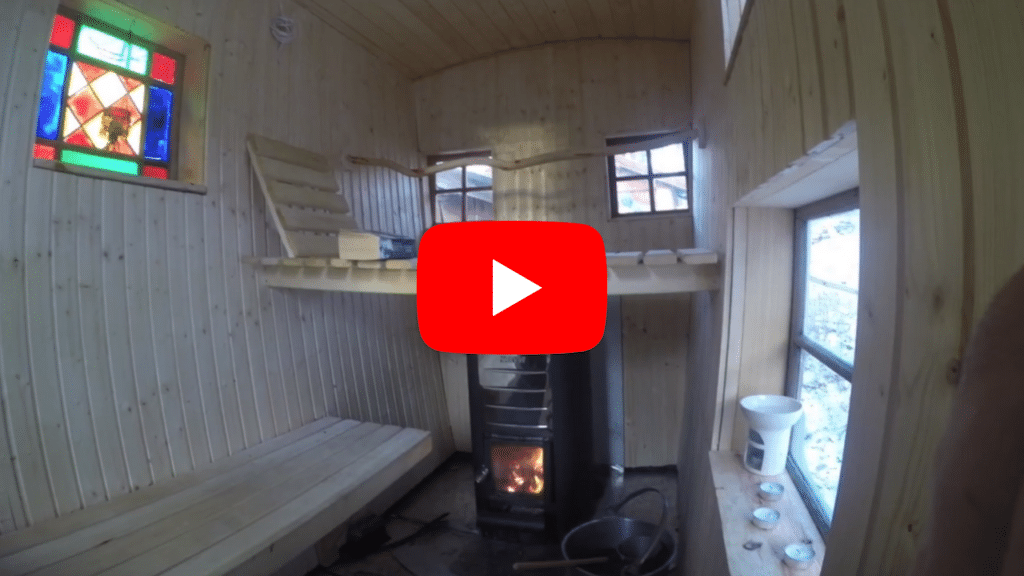
This builder constructed a sauna on top of an empty trailer, making it into a mobile sauna. This is an advanced build, especially with all the details in the exterior design and the demands the desired portability would put on the structure.
This moveable sauna can fit three people in it.
During the build, he frames the walls first the makes the roof and the porch before coming back to fill the frame with insulation then covering the outer shell with wood. The inside is then finished with wood as well before he starts building out the chairs and the benches for the sauna. This sauna has several windows, including a stained glass one.
Off-grid sauna
Red Poppy Ranch
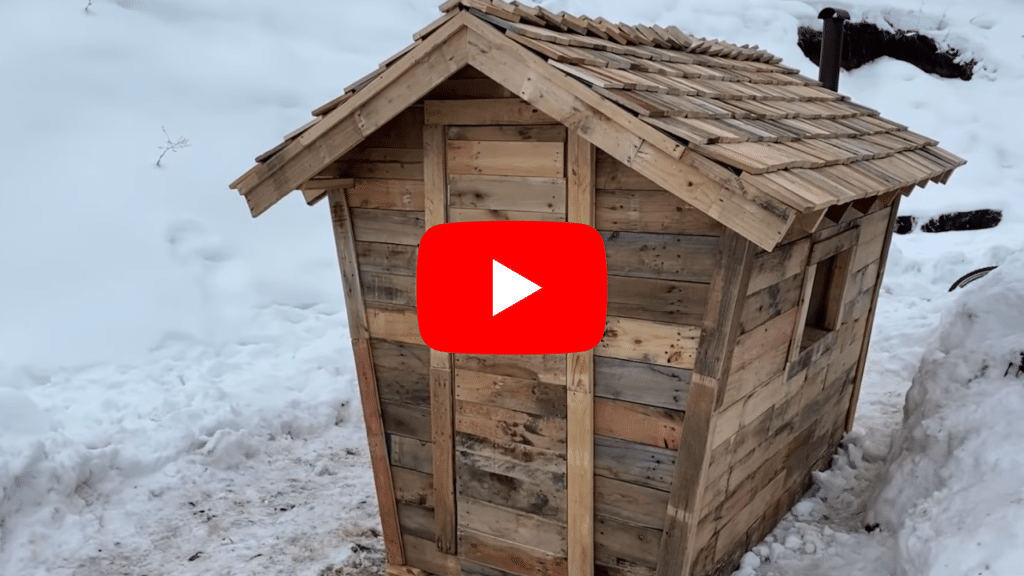
An interesting build, this sauna uses wood pallets and an empty propane tank as a stove, making it an off-grid sauna.
The creator and his family live off the grid and wanted to make this sauna the same way, and wanted to use only the materials he had on hand, which is why he is using wood pallets and discounted wood and lumber he already owned. He does acknowledge that there may be issues with the wood in the future since he is not using cedar.
He built out the floor frame first before building out the frame for the walls, then adding a roof frame. After he added the insulation, he boarded up the outside of the building before moving on to the inside and creating a stove out of the empty propane tank.
He offered advice and caution when it comes to cutting apart the propane tank so it is important this needs to be done in a cautious way.
DIY sauna kits
A sauna kit comes with everything you need to build the sauna yourself at home and even a novice can put one together, although the electrical components may require an electrician to make sure they are safely connected.
Sauna kits are typically more expensive than most DIY saunas, usually starting at $3,000 depending on what model you get as well as if you add any extra features such as a porch. They come with directions and they do not usually require you to do extra work. Some companies also post videos to show you exactly how to do the full build.
One of the benefits of building a sauna from a kit is that you do not have to do research to ensure that you have the correct venting and are using the correct materials to make it.
Setting up a mini POD sauna

Dundalk LeisureCraft
This video shows the professional installation of the Dundalk Mini POD Sauna.
The kit is delivered directly to your home with assembly directions as well as drawings. The video lays out exactly what you need to do, which is especially helpful if you’re having trouble deciphering the directions.
This is a fairly basic version of the POD, but there are different options you can add, including adding in a porch, a changing room, or windows. The beauty of using this kit and others like it is that there is no cutting of wood involved.
6-person sauna kit construction

Redwood Outdoors
The Redwood Outdoors sauna is another kit that is easy to put together, starting at around $6,200, and can fit up to 6 people.
This video runs through the way to assemble it from start to finish, including what you need to do from the moment you open your box. As you watch the video, you can see that everything is pre-drilled making it easier for building, but it does require two people to complete it due to the size.
A novice would be able to build this easily as everything is already set up for you to be able to easily build it especially since it’s designed with the tongue and groove assembly style. The tools needed are ones that are commonly used for other household projects, with many pieces needing to be simply screwed in or hammered together.
DIY sauna cabin
Saunafin Sauna & Steam
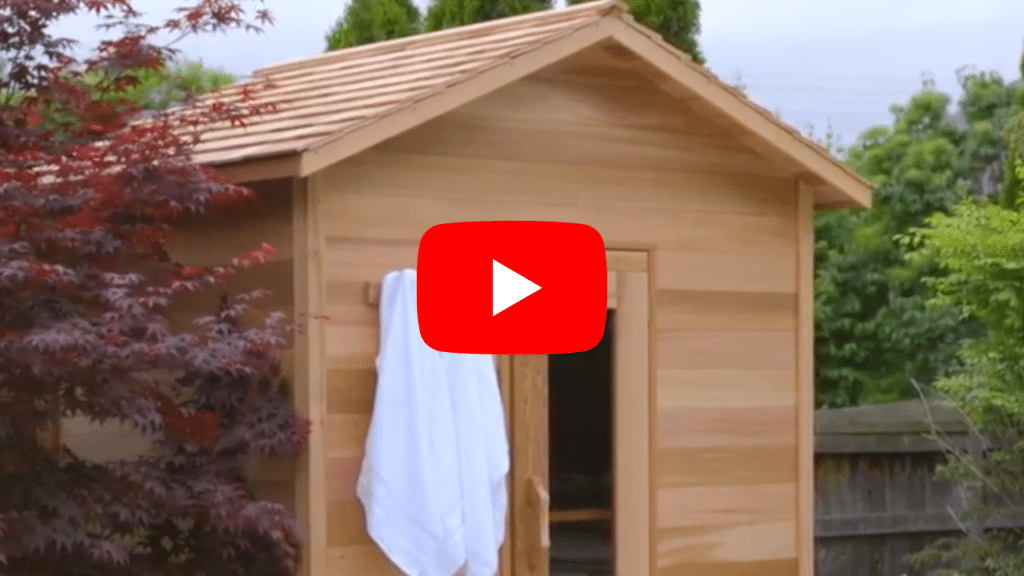
The Saunafin Outdoor Cabin Sauna is another kit designed for easy assembly, but this one does require some cutting and the holes are not all predrilled, making it a little more complicated to put together when compared to other sauna kits. However, most people with some experience working with tools should be able to do this.
This build uses rods and sliding the wood pieces down them in an interlocking pattern, being careful the entire time to keep them aligned. There are tips listed throughout the video on how to keep them straight and what to do if one gets a little crooked. It also has notched corners helping to give the sauna a nice clean look.
Luna sauna
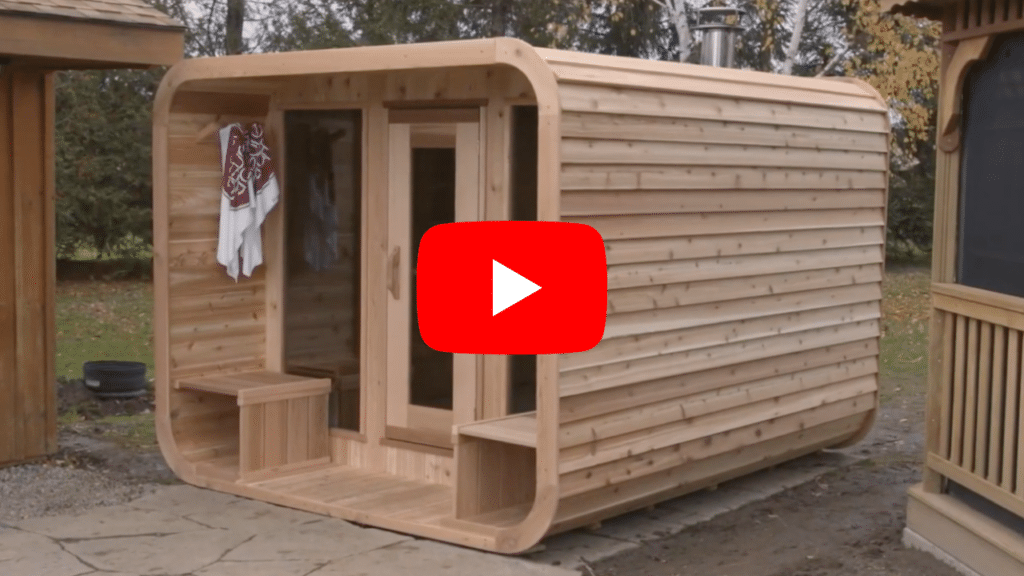
Dundalk LeisureCraft
This sauna features a modern Luna design. It is a cube-shaped sauna that can also have a porch for relaxing before or after your sauna session. Made of Canadian cedar, it also utilizes the tongue and groove method for assembly as well as uses a rod to connect the wood pieces.
The build begins with making the front and back walls before starting on the flooring. Once the floor has been created, you bring the front and back walls up, settling them into the grooves and securing them with a beam on top before continuing to build the walls up to surround the front and back pieces, eventually wrapping around and becoming the roof.
It is important to follow directions, specifically with the roofing because nailing them down before the roof is fully assembled can lead to construction issues.
DIY sauna conversions
A sauna conversion is when you take an existing building or structure to turn into a sauna, often using a shed or storage unit that is no longer needed.
Conversions may be cheaper than using a kit, although the cost will vary based on the materials you use and what upgrades need to be made to the existing building. Because you are customizing the space, the sauna will be built to your specifications.
Sauna conversions typically start at around $1000, depending on the size of the conversion and the cost of materials.
It is always important to do research into what you need to do to ensure the sauna is safe for use once the conversion is complete. Doing this requires an advanced skill set and you should be familiar with any electrical components that may be involved.
Shed to sauna
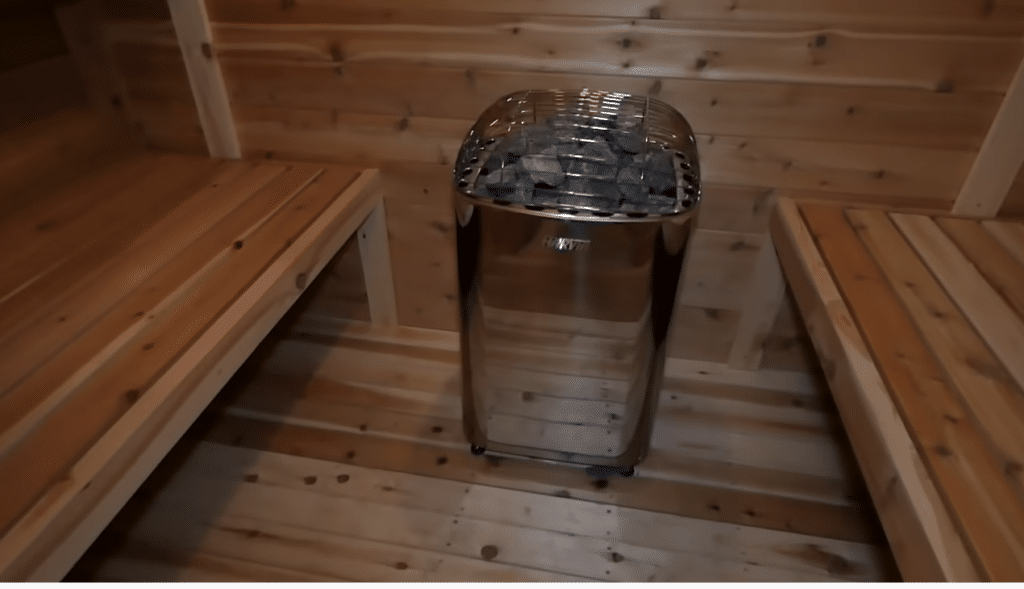
Mr. Build It
This video shows how the builder turns a shed on his in-law’s property into a sauna, complete with a changing room.
The structure already exists and all he has to build out the sauna from the inside. For this build, he adds a light fixture as well as other electrical components so an electrician has been hired to do that part correctly.
Because the shed does not have any insulation, he also adds it in to keep the heat within the room before sealing the area (walls, ceiling, and flooring) with a vapor seal then a radiant barrier.
The actual sauna is created with cedar since it tends to hold up better (and longer) than pine.
Small shed to sauna
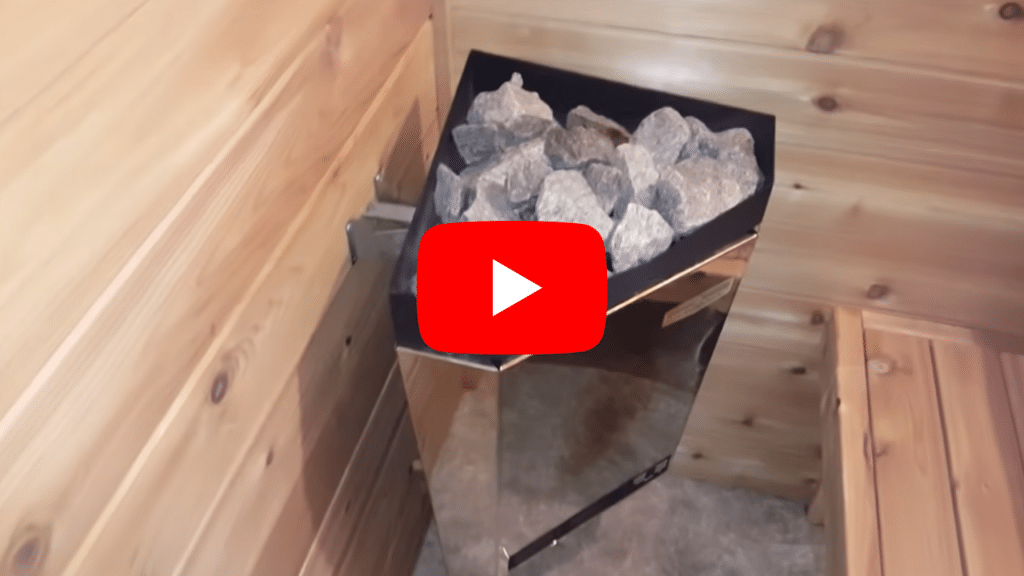
Random Repair
This builder converts an 8’x7′ shed into a sauna with a small changing room.
At the beginning of the video, the shed is already set up with electrical and insulation. The builder puts in a vapor barrier as well as a foil vapor barrier then builds out the changing area in pine. The sauna is made of cedar tongue-and-groove, using vinyl for the flooring.
He also includes a sound system with an indoor/outdoor speaker in the room to help create a nice environment. He explains the technique he used as he nailed the boards into the wall and it was done over the course of 2 weeks. The video includes his price breakdown as well as where he saved money and how.
Garden house to sauna
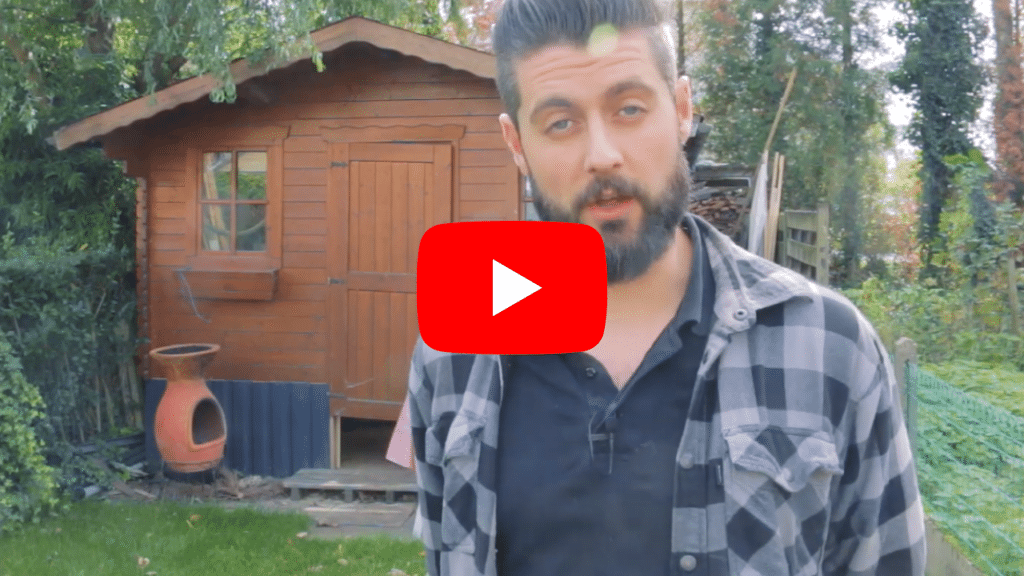
ProjectsandThings
This sauna started as a rotted garden house. The original floor had rotted through so they raised it up and placed a new subfloor as well as new flooring on the bottom then added an extension to the building, which will also house a shower.
During this build, the walls and ceiling were covered with Aspen wood to create the sauna room, which includes a vent to help the air flow throughout the sauna.
The video shows step by step what the builder did in order to create this sauna, even showing where he made a mistake with the door size and how he fixed it in order to fit the door correctly.
Watch the video on YouTube: Part 1
Watch the video on YouTube: Part 2


